Categories
Uncategorized

Understanding Land Art

Land art is a term originating in the art world of the 1960s. Also called earth art or earthworks, land art was born from a combination of reaction to the increasingly commercialized and commodified nature of art and environmental activism. Land art has remained popular throughout the decades and you can find many famous examples all over the world. To understand more about land art, here are the basic elements you need to know.

Temporary

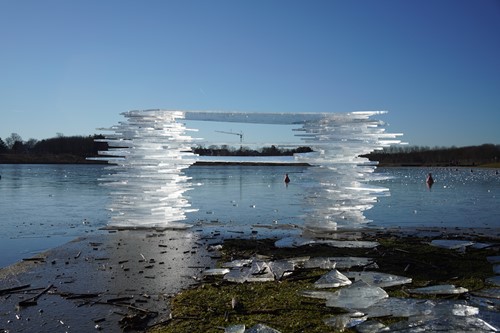
While most forms of art are meant to last forever, land art is unique in its ephemeral nature. Land art installations only last a short amount of time because of natural processes. Some examples include intricate drawings in sand on a low-tide beach or sculptures built out of snow. When the tide comes in and the air warms up, these art pieces will fade away. However, there are some permanent examples of land art that have already lasted decades, such as Robert Smithson’s “Spiral Jetty” in the Utah salt flats. The key factor is that land art must exist outside of established art spaces like museums. If it’s inside a building, it’s no longer land art.

Natural Materials

Another key tenet of the land art movement is use of natural materials. Stone, water, fallen tree branches, leaves and ice are common examples. Land art might also include natural elements from the animal world like feathers, shells, animal bones or furs. Some artists and critics insist on this rule and claim that land art using other materials like textiles or metal means the art is no longer “land art.” However, there is overlap between land art and environmental art, which seeks to draw attention to or comment on natural phenomena. These pieces frequently include materials like concrete and metal and string or glue to hold components together.

Location-Specific

While there can be some debate over the actual materials used in land art, one aspect artists agree on is the importance of location. Land art is always created for and in a specific place in nature and must stay there throughout its “life.” Sometimes, specific characteristics of a site may play a huge role in the art itself. For example, land art may depend on rising or lowering water levels, the angle of the sun, direction of wind or even the local flora and fauna. This is the most dramatic contrast with traditional art displayed in galleries or museums and can make the art less accessible when set up in remote locations. However, the opposite is also true: many regard land art as a more accessible art form because it does not require visits (or payments) to museums or galleries.

Like any art movement, land art has many facets and interpretations. These key elements are the most important things to remember when seeking or creating land art of your own.
Categories
Uncategorized

3 Simple Tips for Customizing Your Flower Pots

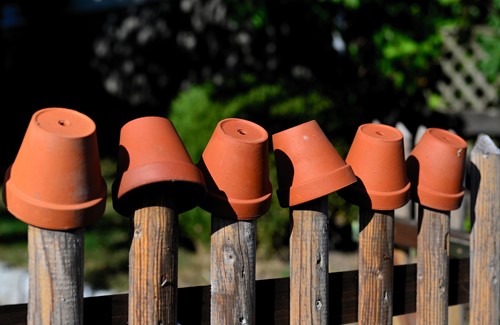
You don’t need to spend a fortune on expensive flower pots and planters. Decorating a plain pot and turning it into a custom piece is simple and inexpensive and can really make a difference in your plant collection’s aesthetic. No matter your style, terracotta pots make the perfect starting point for this project. Here are some tips you can use to create your very own custom terracotta pots.

Recommended Materials

Terracotta flower pot
Paint brush
Foam brush
Craft Paint
Painter’s tape
Rubber bands
Pencil
Plants or flowers

Painting Tips

Plan Your Design

When you begin any sort of creative project, it’s helpful to have an idea before you begin. Starting your pot painting project with a design or at least part of a design already planned will help you save time and materials. While you can paint over any mistakes with enough coats, it’s better to avoid them entirely by planning your design.

One thing that can help is drawing on the pot with a pencil before you paint. This is especially useful for more complicated designs, motifs or even lettering. If you plant to use a stencil, try different placements on the surface of the pot to get the best look.

Use Shortcuts

It’s not cheating to use your resources wisely. With art, any tools that can save you time or make tough parts easier will reward you with a better finished product with less frustration. Use painter’s tape to block out areas you don’t want to paint. Just like when used on walls, painter’s tape will give you a perfectly straight line without the hassle.

Another great shortcut for painting flower pots is to use rubber bands for horizontal lines. Fit a rubber band around the pot and adjust so that it’s even all the way around. Not only does the rubber band make a barrier for paint but it will stay in place, giving you a perfectly even horizontal line every time.

Make Your Pots Versatile

To get the most use out of your newly painted pots, treat them for outdoor use. You can do this by adding a coat of spray sealant after the paint is dry. There are different finishes you can use as well, so it provides an opportunity to enhance your artwork with a glossy sheen or a cool matte finish.

Terracotta is a porous material, so if you want it to avoid absorbing water meant for your plants, use sealant on the inside too. This can also make cleaning the pots easier in the future as it makes a smoother surface in contact with the soil.

Terracotta pots are incredibly versatile whether or not you customize them. The variety of shapes and sizes available on the market makes this project not only simple but budget-friendly. Try these tips if you want to give your container garden or houseplants an aesthetic boost.